CACAO Terraform templates on the CLI
Overview
This tutorial will guide you through the process importing a basic terraform template into CACAO.
A more detailed version of this tutorial can be found here https://docs.jetstream-cloud.org/ui/cacao/cacao_cli_import_terraform_template/
By the end of this tutorial, you will have imported a terraform template into CACAO and deployed it using the UI to confirm that it works.
Prerequisites
- Basic understanding of Terraform, git, and the command line.
- AWS secret and access key with the right policies (provided by workshop)
- Terraform installed on your local machine or VM server (if you need to validate any terraform changes).
- An SSH key pair to access the VM server running Terraform (if you need to validate any terraform changes). Steps to create an SSH key pair can be found here.
CyVerse CACAO Browser UI
One of CyVerse's test deployments for CACAO will be used for this exercise so that we can import a template using the newer metadata schemas, which will be deployed to production in the very near future.
The url for the CACAO site that we will use today is https://cacao.cyverse.ai
Please login to verify that you have access to the CACAO test site.
Installation of the CyVerse CACAO CLI
Info
If you are using a VM provided by the workshop, the CACAO CLI is already installed. You can skip this installation section.
The CyVerse CACAO CLI is a command line tool interact with the CyVerse CACAO API. The first step is the install the cli on your local machine or to a vm.
- Linux download for CACAO CLI
- Windows download for CACAO CLI
- MacOS (Intel) download for CACAO CLI
- MacOS (ARM) download for CACAO CLI
If you're using a VM provided by the workshop or a Linux system, you can use these instructions to install the CACAO CLI.
- If necessary, obtain a shell or terminal on the Linux system you wish to install the CACAO CLI.
- Copy link for "Linux download for CACAO CLI" from above.
curl https://gitlab.com/cyverse/cacao/-/package_files/141329166/download --output cacao.zipunzip cacao.zip # this will create a file cacao_linux_amd64sudo mv cacao_linux_amd64 /usr/local/bin/cacao # optional; otherwise, add it into your pathchmod +x /usr/local/bin/cacao
Reviewing the Terraform template we will use to import
We will be using https://github.com/cyverse/cacao-example-templates.git for this tutorial.
You will find a directory called .cacao at the root of the template and two files:
metadata.json, which contains the CACAO-specific metadata for the templateui.json, which contains the UI-specific hints for the template
The ui.json file is optional, and if not present, then the CACAO UI will present a default naive rendering of the template.
Details about the metadata and ui schemas can be found here: https://docs.jetstream-cloud.org/ui/cacao/import_terraform_template/
Warn
The UI metadata specification is currently in flux and will likely change in the near future, especially as we get feedback from the community.
Stop! If you want to fork the template, let's do it now.
!!!+ info This is an optional step. You do not need to fork a template for this part of the tutorial, but you may if you wish.
Using the CACAO CLI
Login to CACAO CLI
-
cacao loginWhat to do if you encounter a login issue
Sometimes login using the command line will fail -- a typo happens, a copy-n-paste of a token happens, using the wrong api url happens, etc -- and you need to reset your login. To reset your login, you can use the following command:
cacao logoutExpected Response
-
Enter the CACAO API url:
https://cacao.cyverse.ai/api -
In your browser, go to the credential page, or click on the " Credentials" button on the lefthand menu bar.
-
Create an API Token credential by click on the
Add Credentialbutton and selectAPI Token. Name your API token and clickCREATE TOKEN.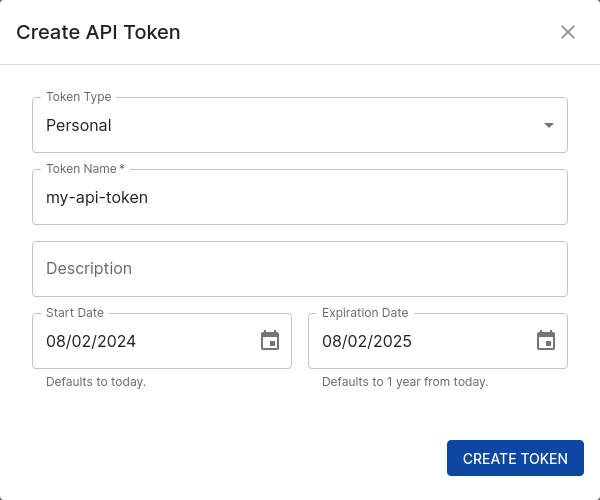
-
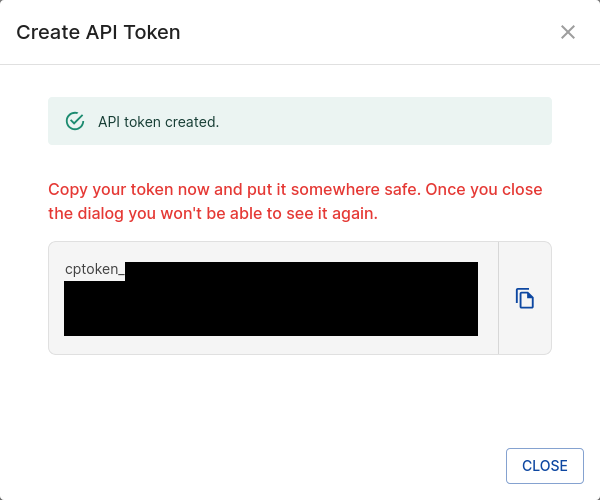
Copy the created API Token.
-
Paste the API Token into terminal from Step 2 and hit enter.
Expected Response
-
To test a successful login, you can execute a cacao command, such as:
cacao user get --self
Importing a Terraform template into CACAO
cacao template create git <source url> <template name> --branch <git branch> --path <path to template>
Here are the values to enter for each:
<source url>:https://github.com/cyverse/cacao-example-templates.git<template name>: "-hello-world" (e.g. student0001-hello-world) <git branch>:main<path to template>:terraform-aws-itsummit2024-cacao
!!!+ warn If you forked the template, you will need to use your forked url.
Putting this all together, your command will look similar to this:
cacao template create git https://github.com/cyverse/cacao-example-templates.git student0001-hello-world --branch main --path terraform-aws-itsummit2024-cacao
Expected Response
!!!+ note
Save the tid value for later use.
Launching a template using the CACAO UI
- Open the CACAO UI in your browser: https://cacao.cyverse.ai
- Click on the "Deployments" tab on the left-hand side.
- Click on the "+ Add Deployment" button.
- Select the "edwin's hello world example"/"student0001-hello-world" template. (Note: the subname of the template will be different for you.)
- Click the "Next" button.
- Fill out the Parameters
Choose Region: stick withus-east-1orus-west-2regionInstance name: enter your student name (e.g. student0001) + date e.g.student0001-2021-08-18Image: selectubuntu-minimal/images/hvm-ssd/ubuntu-jammy-22.04-amd64-minimal-20240729Size: selectt2.micro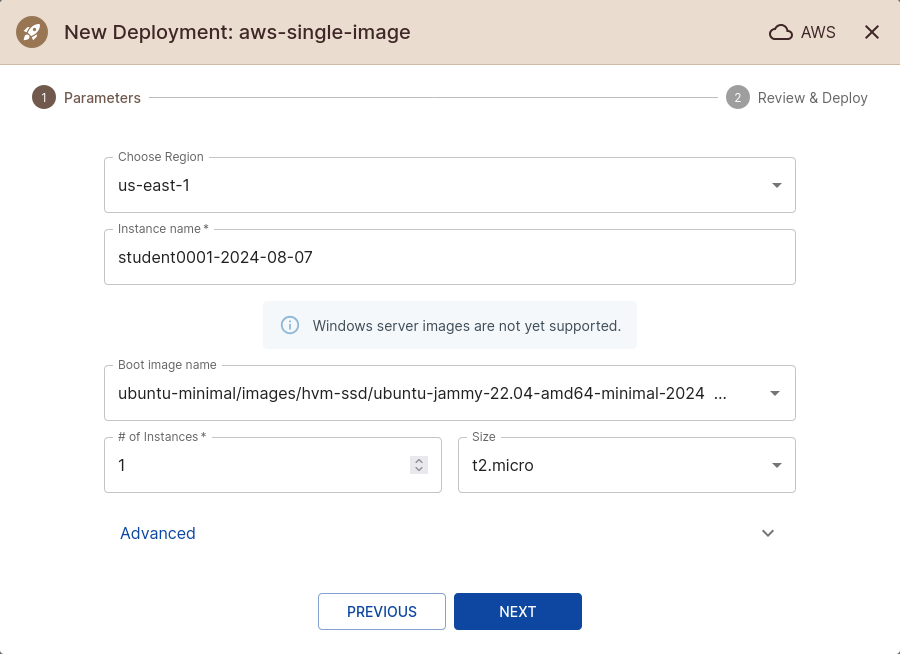
- Click the "Next" button.
- After reviewing the summary, click the "Submit" button.
- You will be listed on the "Deployments" page. You can click on the deployment to see the status of the deployment.
While you are waiting, questions or we can begin the next section, "What if you want to customize a template?"
Cleaning up (if you didn't fork your template)
!!!+ warn
You will not be able to delete a template if there are any active deployments using it.
1. Delete the deployment in the UI or cli (cacao deployment delete <deployment id).
2. cacao template delete <template id>
Expected Response
What if you make changes to a template and want to use it for new deployments?
Answer: You do not need to do anything. The CACAO UI will automatically detect changes to the template on the configure branch and will use the latest branch code new deployments.
What if you make metadata changes to a template (e.g. .cacao/metadata.json or .cacao/ui.json) and want to use it for new deployments?
Answer: cacao template sync <tid>
For those of you who forked the repo, we can experiment with template modifications
Here are a couple suggestions * change the name of the template * remove image (and/or size) from the template and set it
What if you want to customize a template you don't own but is public?
If there is time, we can go through this section. Otherwise, you can try this on your own.
- Fork the template into your own github or gitlab account
- Add a
.cacao/metadata.jsonand.cacao/ui.jsonto your forked template - Import the template using the
cacao template create gitcommand.